No-show Panties, Tutorial and Pattern.
This is a little project I used as extra practice in furthering my knowledge of Adobe Illustrator. As I've said before, I'm taking a pattern making course over at Pattern Workshop. Its going well and I am very encouraged lately! I've gotten to the point where I just need to spend lots of time digitizing my hand drawn patterns. Lots and lots of time! But it will be fun, because after re-watching the video tutorials, many of my questions have been answered and I feel like I've got a much better grasp on what I need to do. At least for this next part :-) Here's a snap shot of lessons from my last day or two...
Anyway,
this tutorial and pattern was inspired by a friend. She asked if I could help her with a project. She wouldn't tell me what the project was, but I agreed to it just the same so we could hang out and our kids could visit too. The project turned out to be panties! That didn't weird me out though, I'd made panties before lol! The reason she thought of me for this project was because the panties were made out of a nylon lycra fabric. And she knew I had plenty of that on hand :-) It took a little work and some patience, to make a pattern from the existing panties. So not totally designed by me, just copied a ready to wear garment. I think they could use a rise in the waist and in the front leg cut. I may alter those later and make into multiple sizes. I've not had practice at grading panties into multiple sizes. Though I do have plans to study!


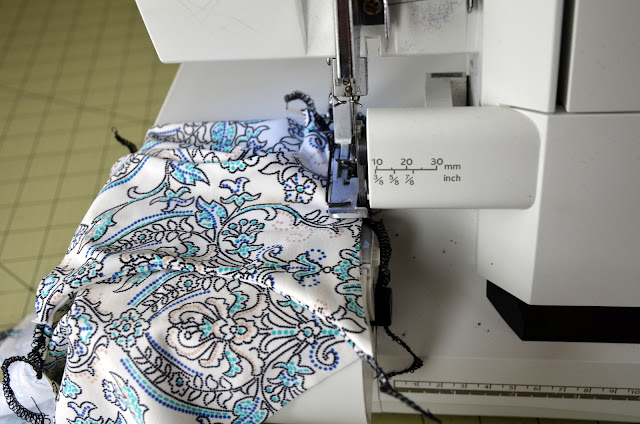
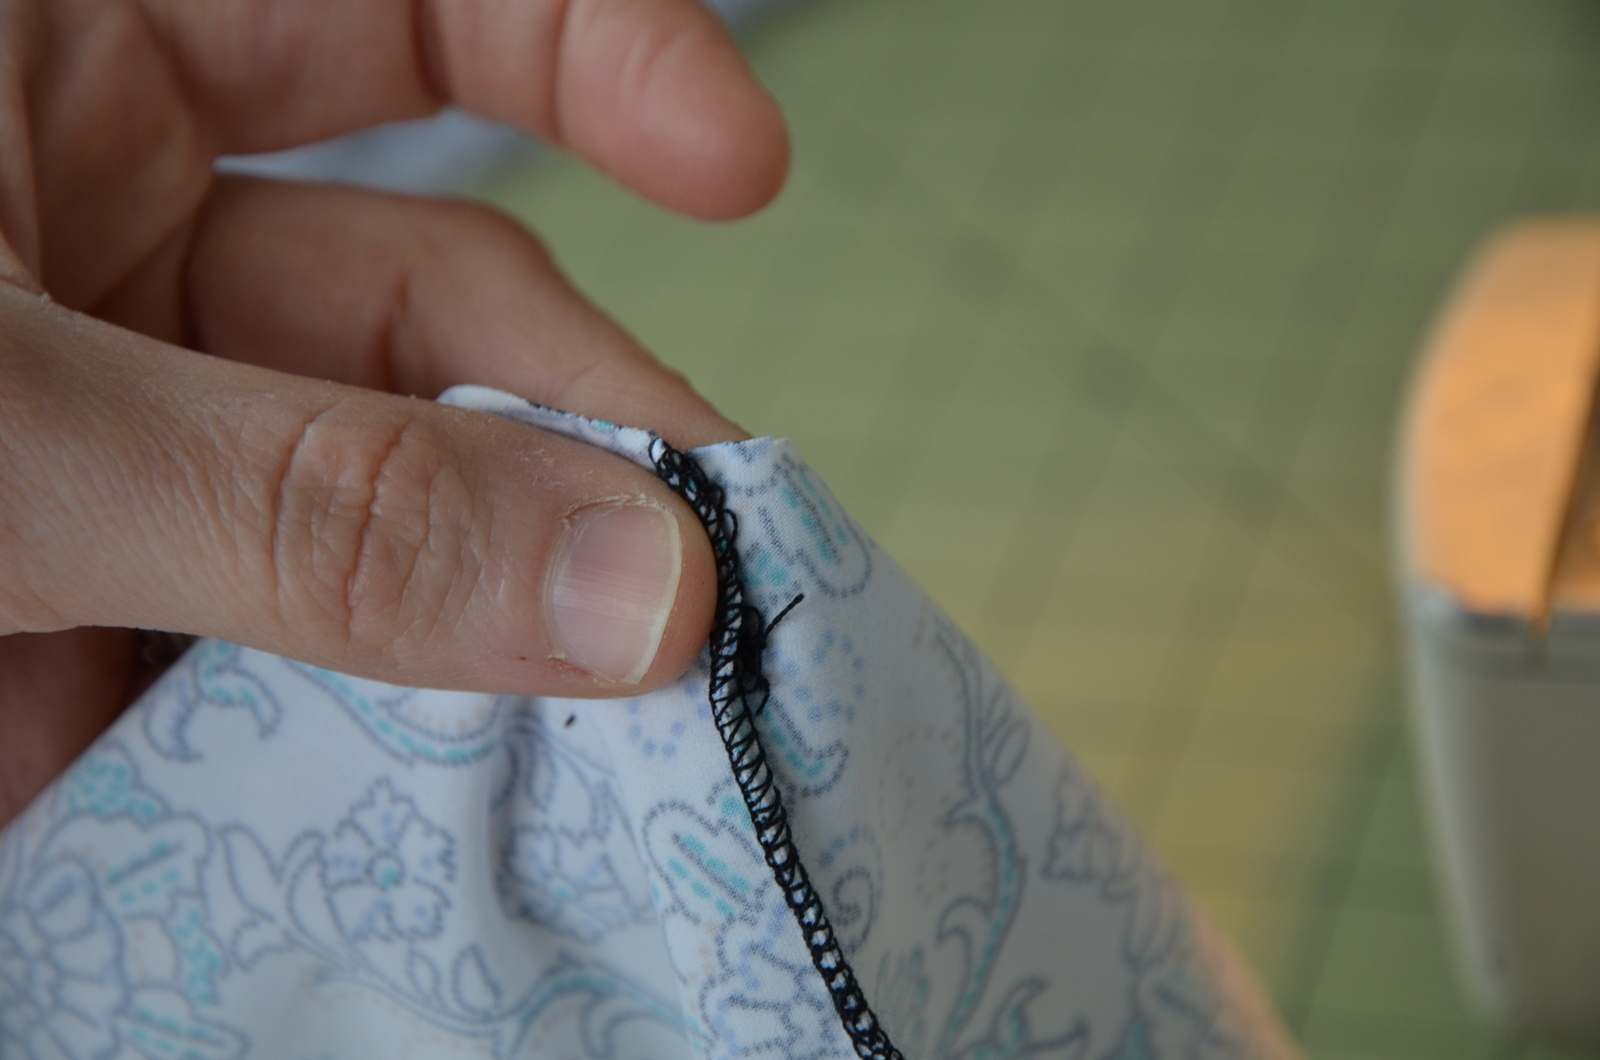
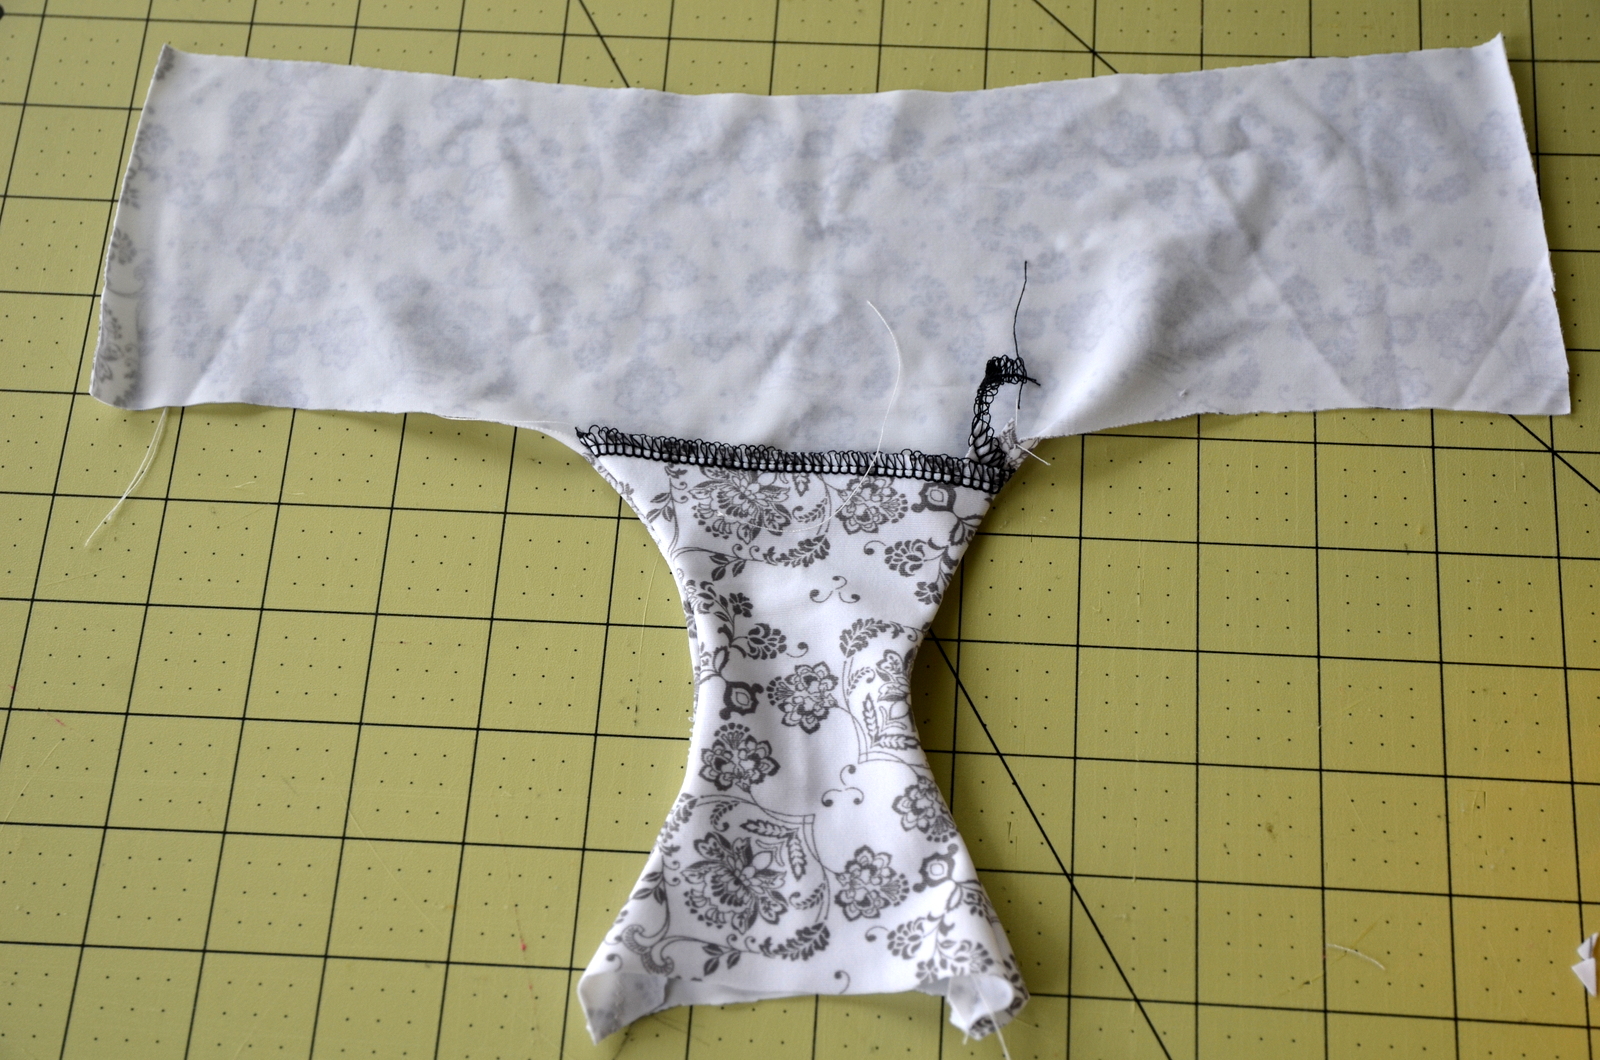
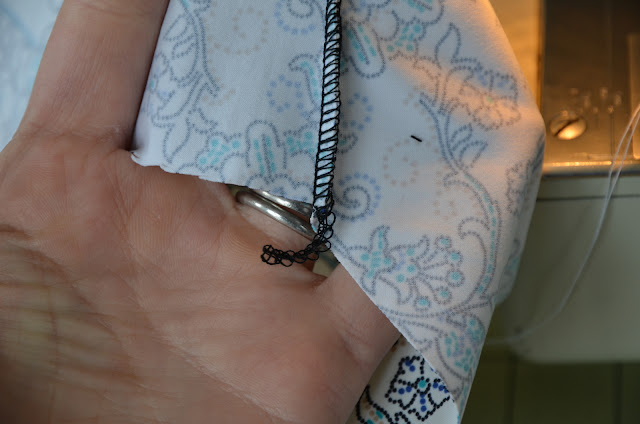 See this little tail? At some point you'll want to get rid of all your threads at the ends of your seams. And since the legs and waist do not get finishes, you'll want to try and hide these as best you can! View the next few photos to see how I do this...


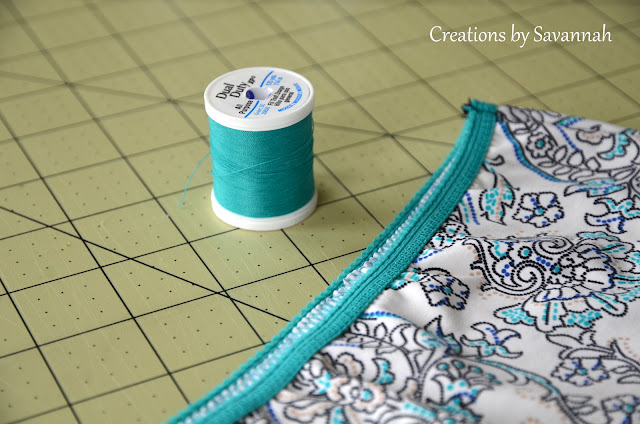
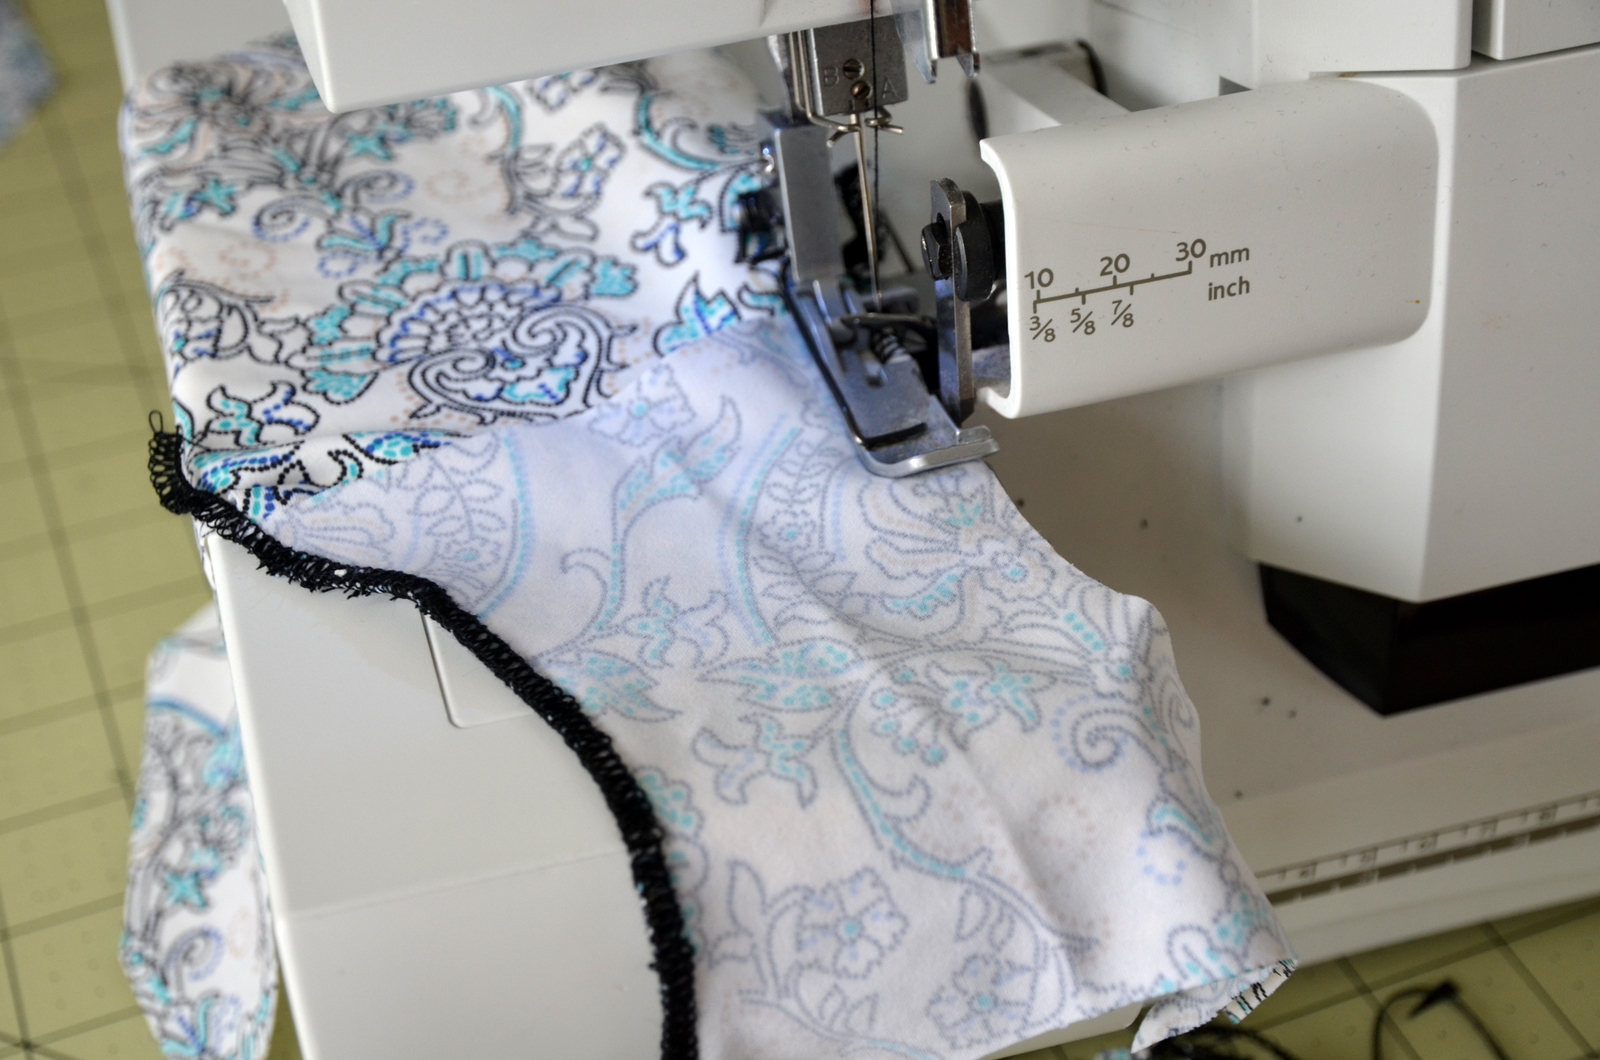
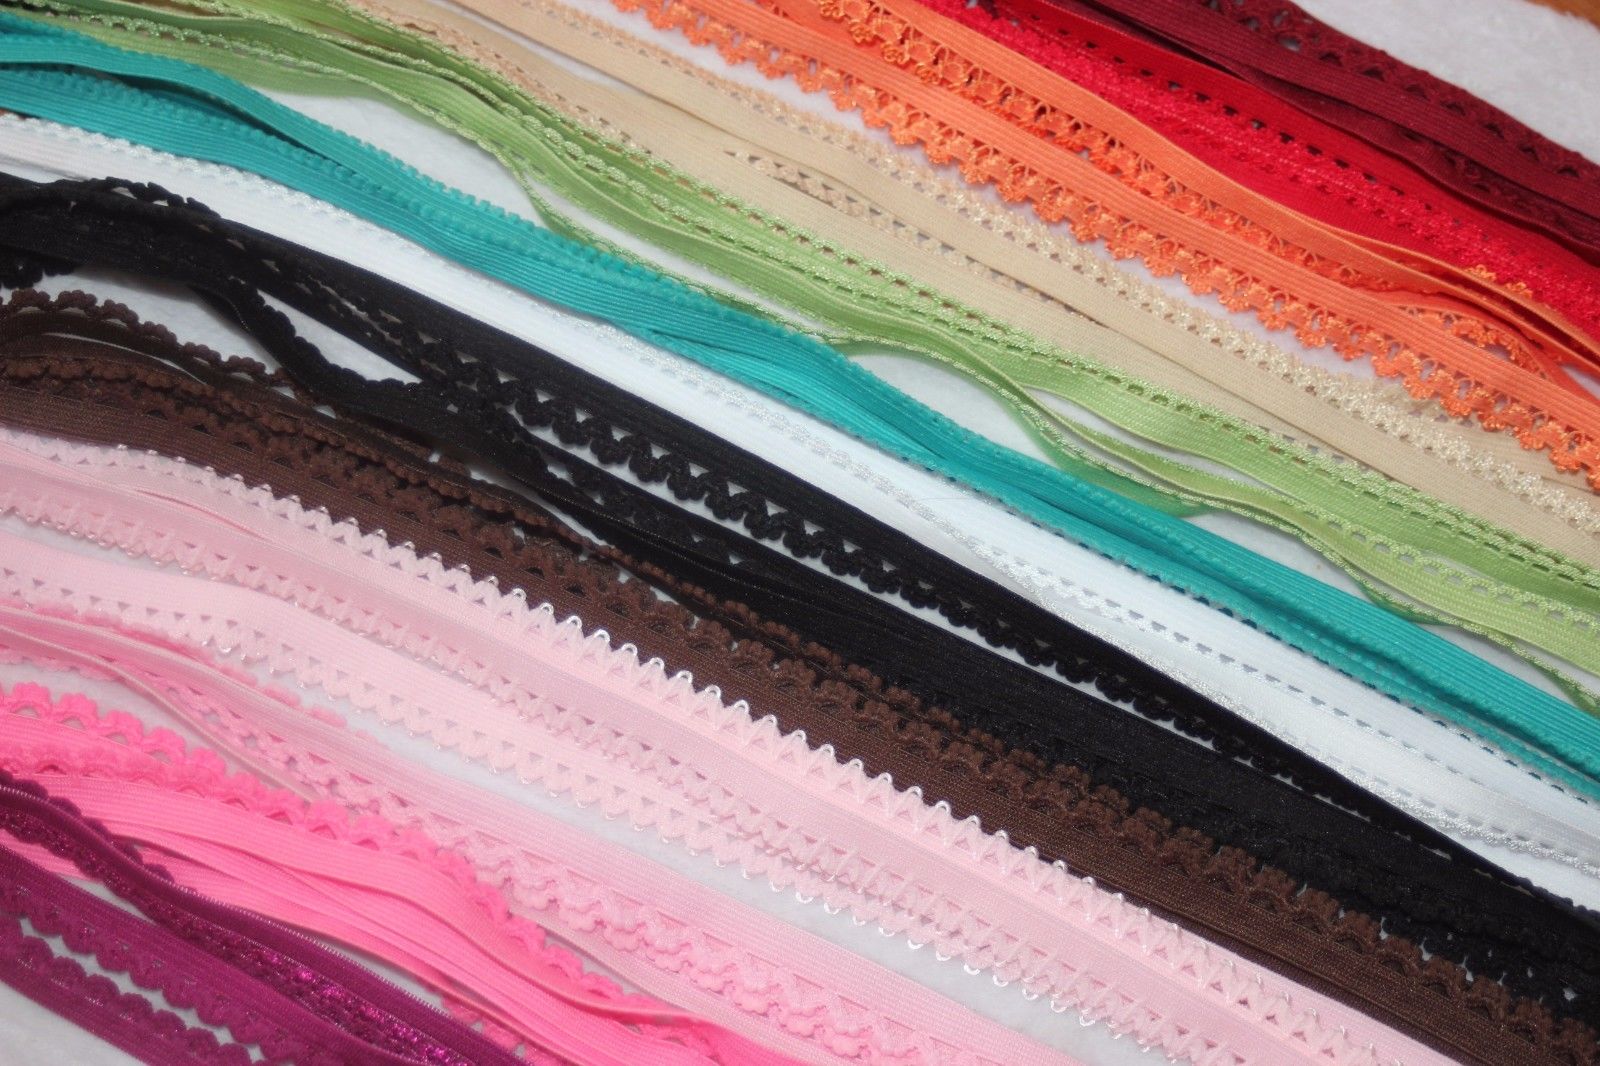
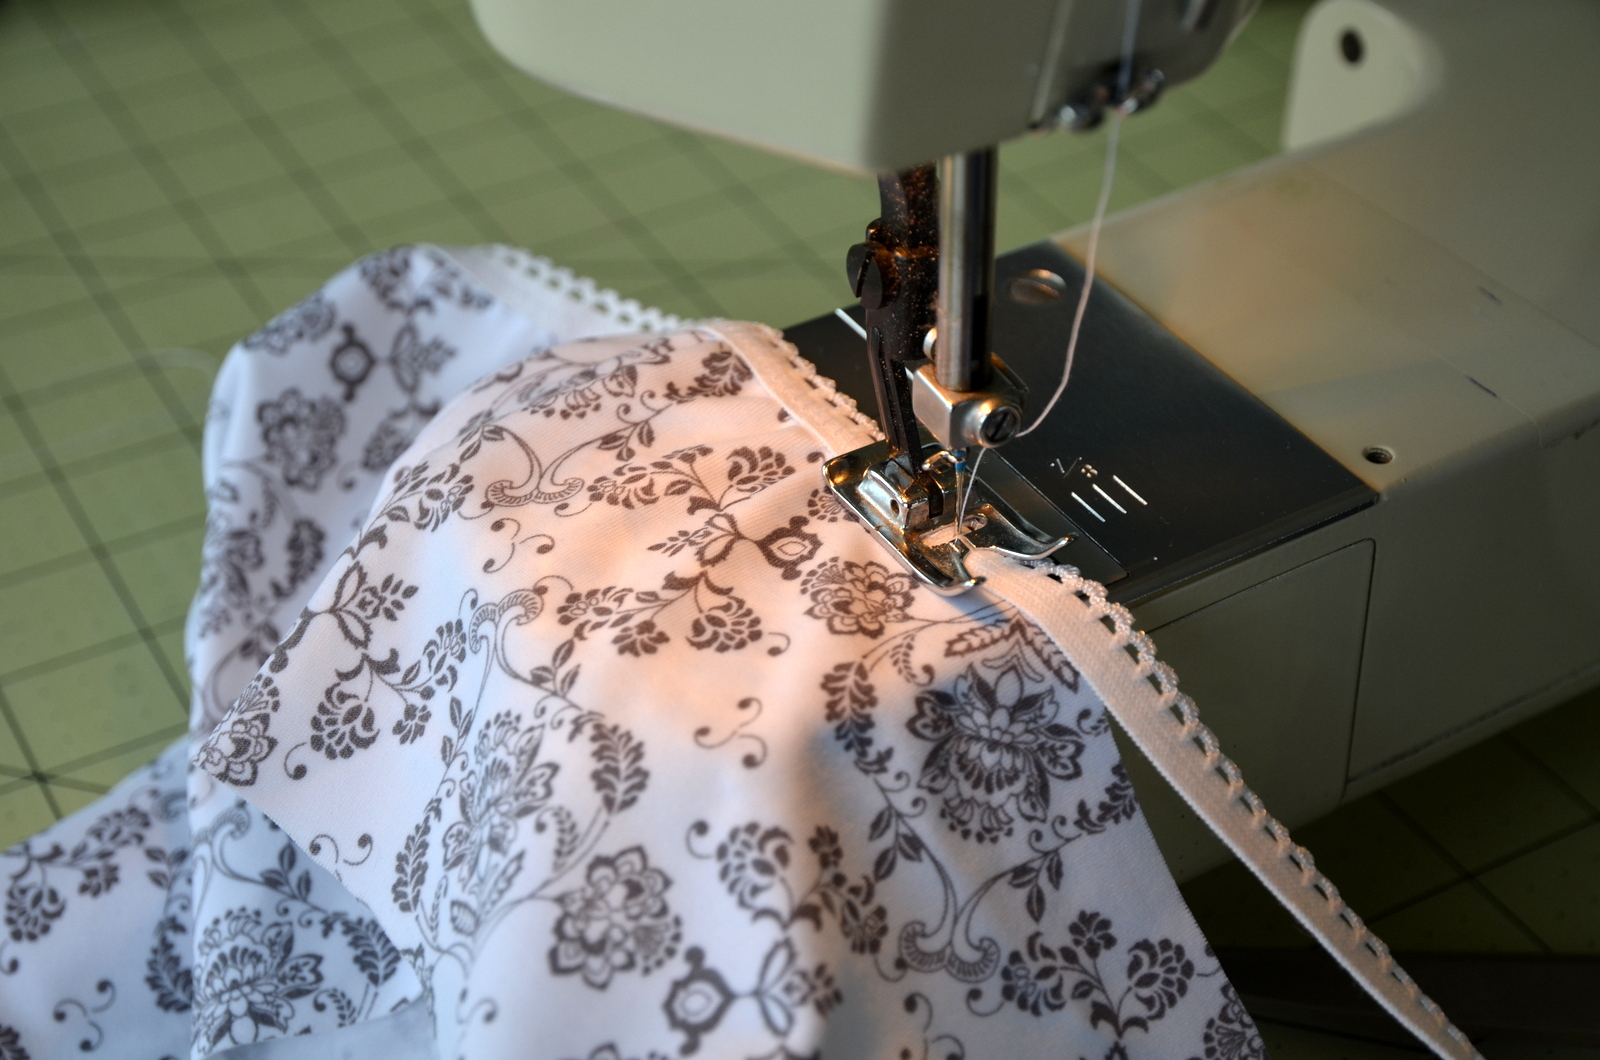
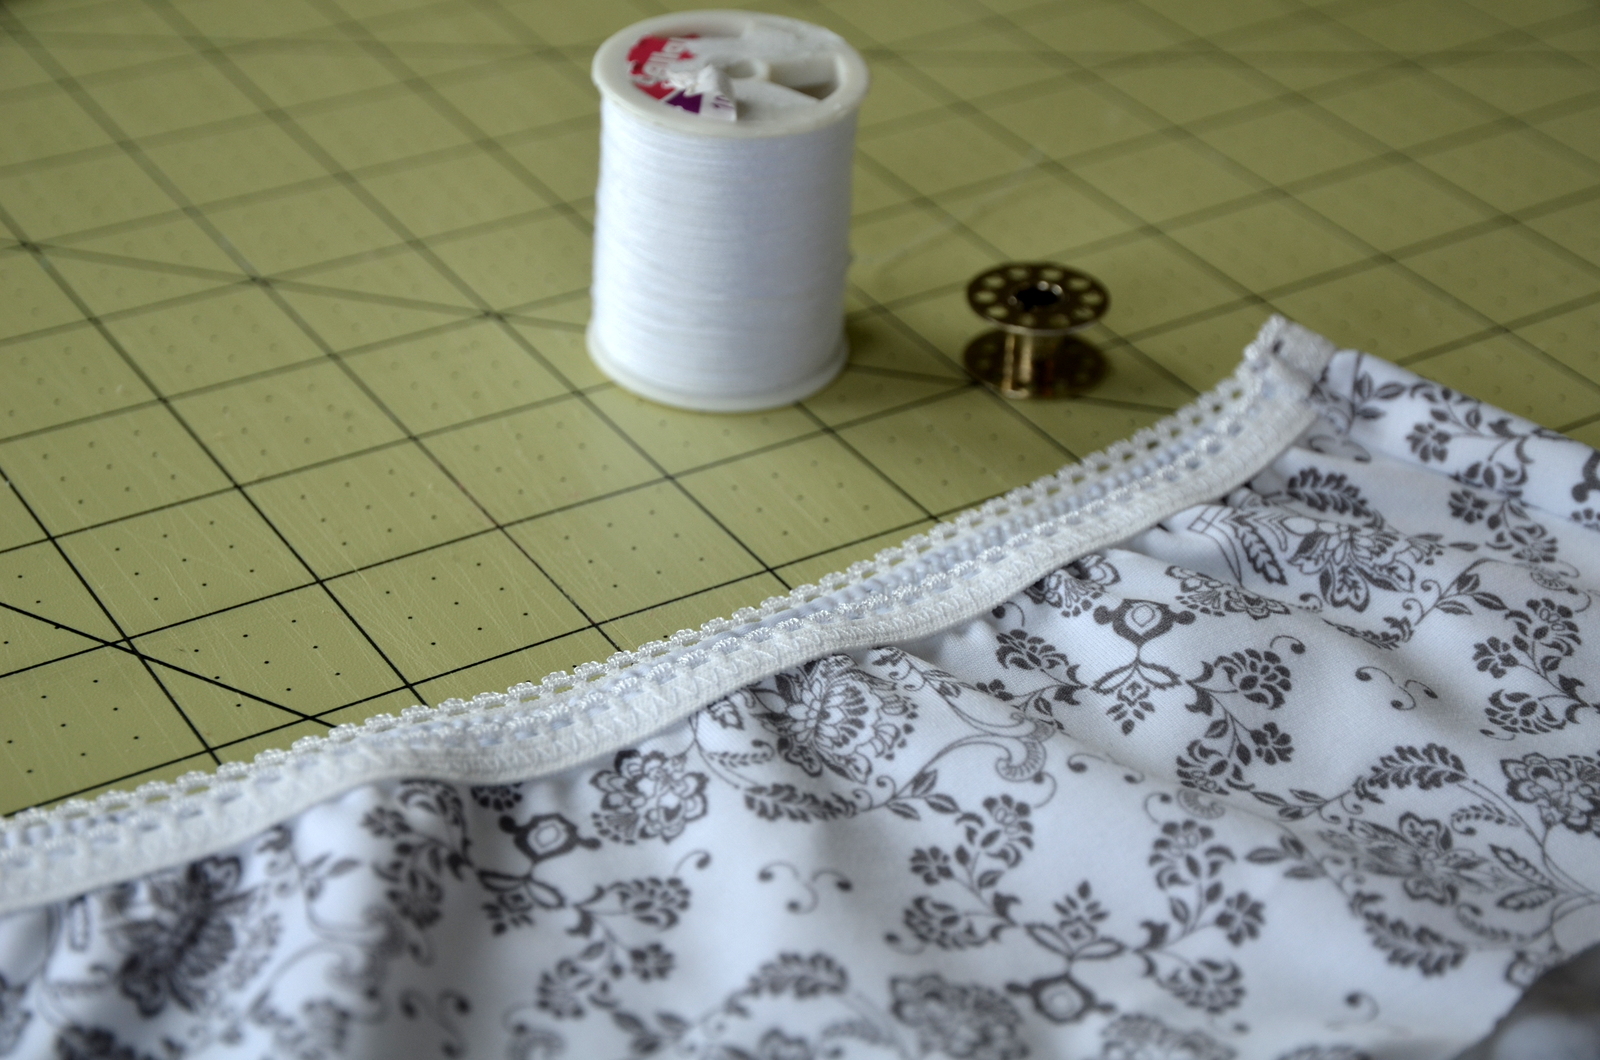
 I opened up one of the side seams and added pretty elastic. This type of decorative elastic is called picot elastic. I found this lot on Ebay. This same seller I found on Etsy, and the last time I ordered from her, she sent a discount coupon that was good on her website. I got the drift that she was wanting to direct business towards her website, so I will share that with you here: Lace and Trims is where I found my colorful elastic.

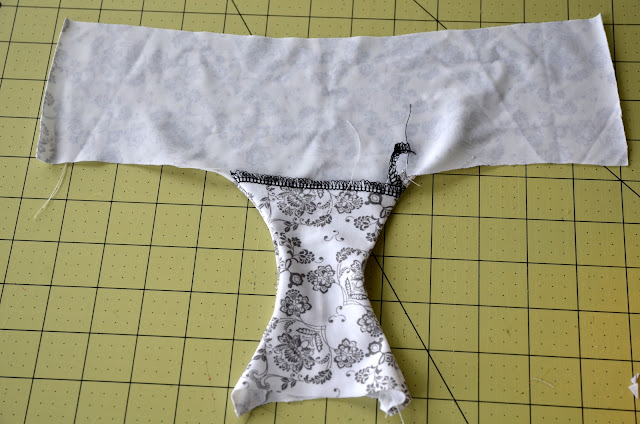
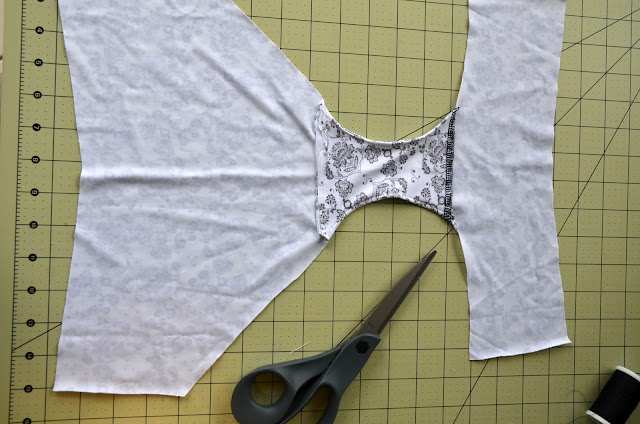
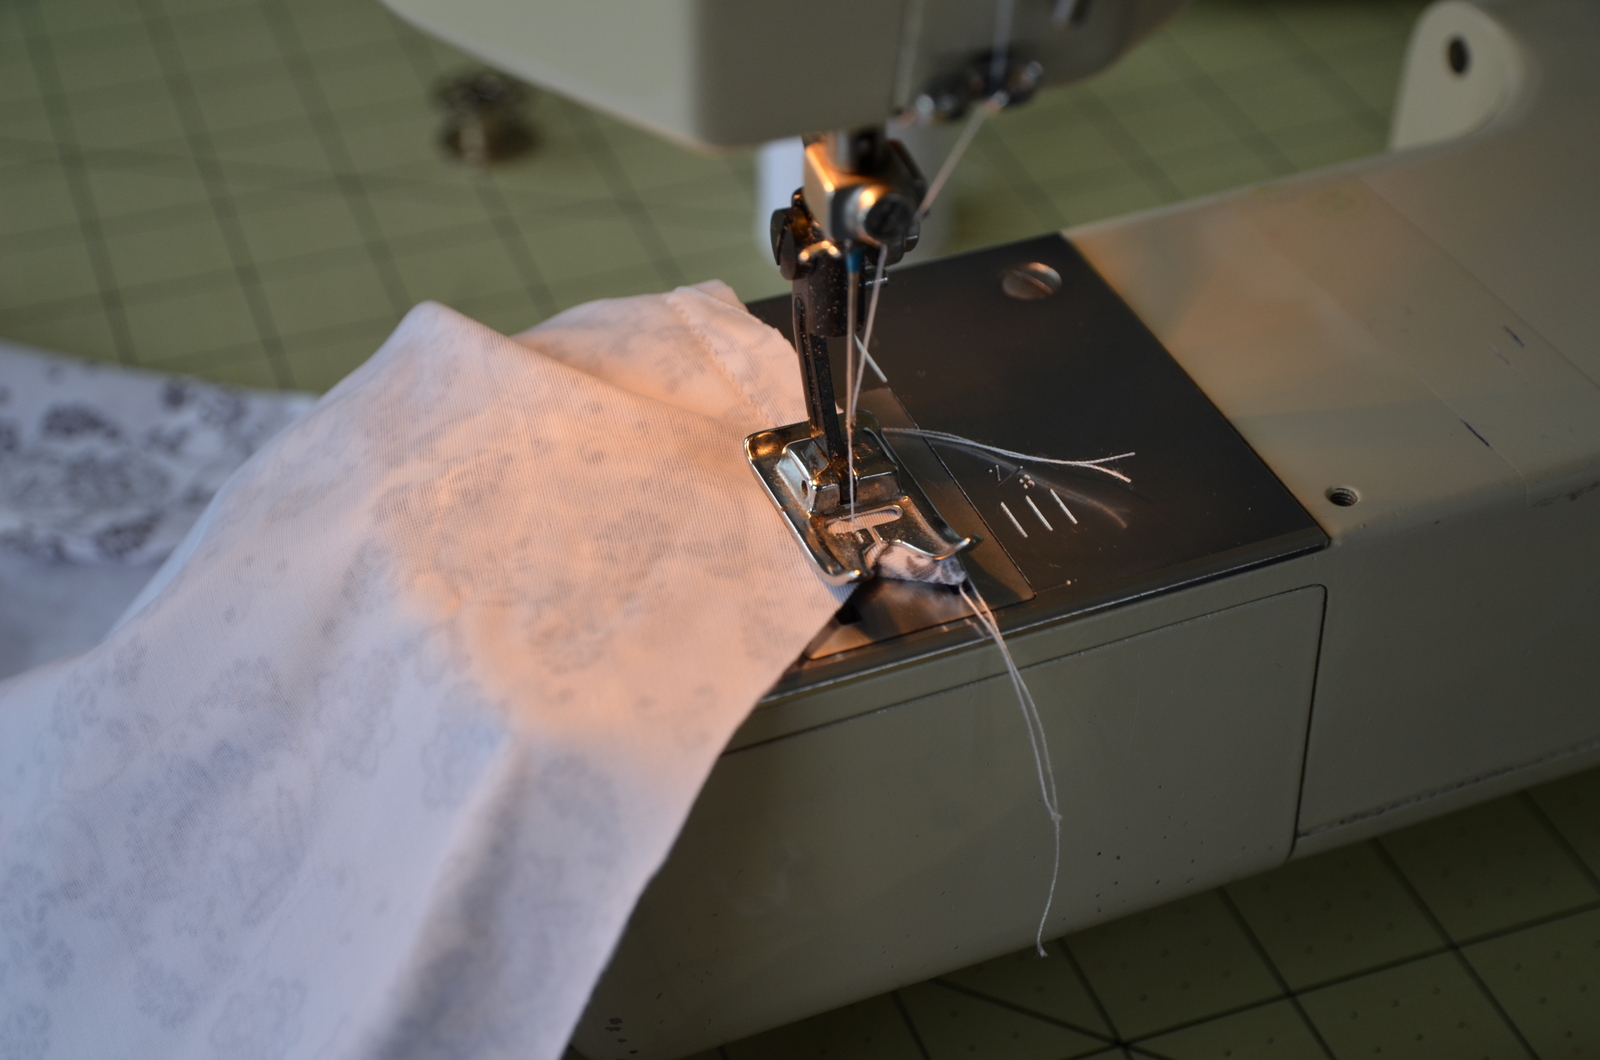
 Sewing the front to back at the crotch.
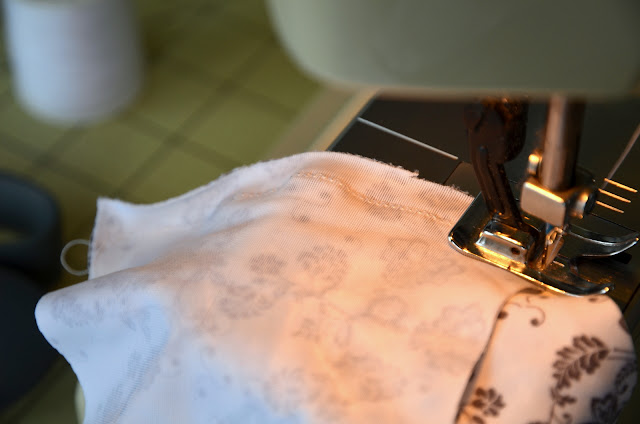
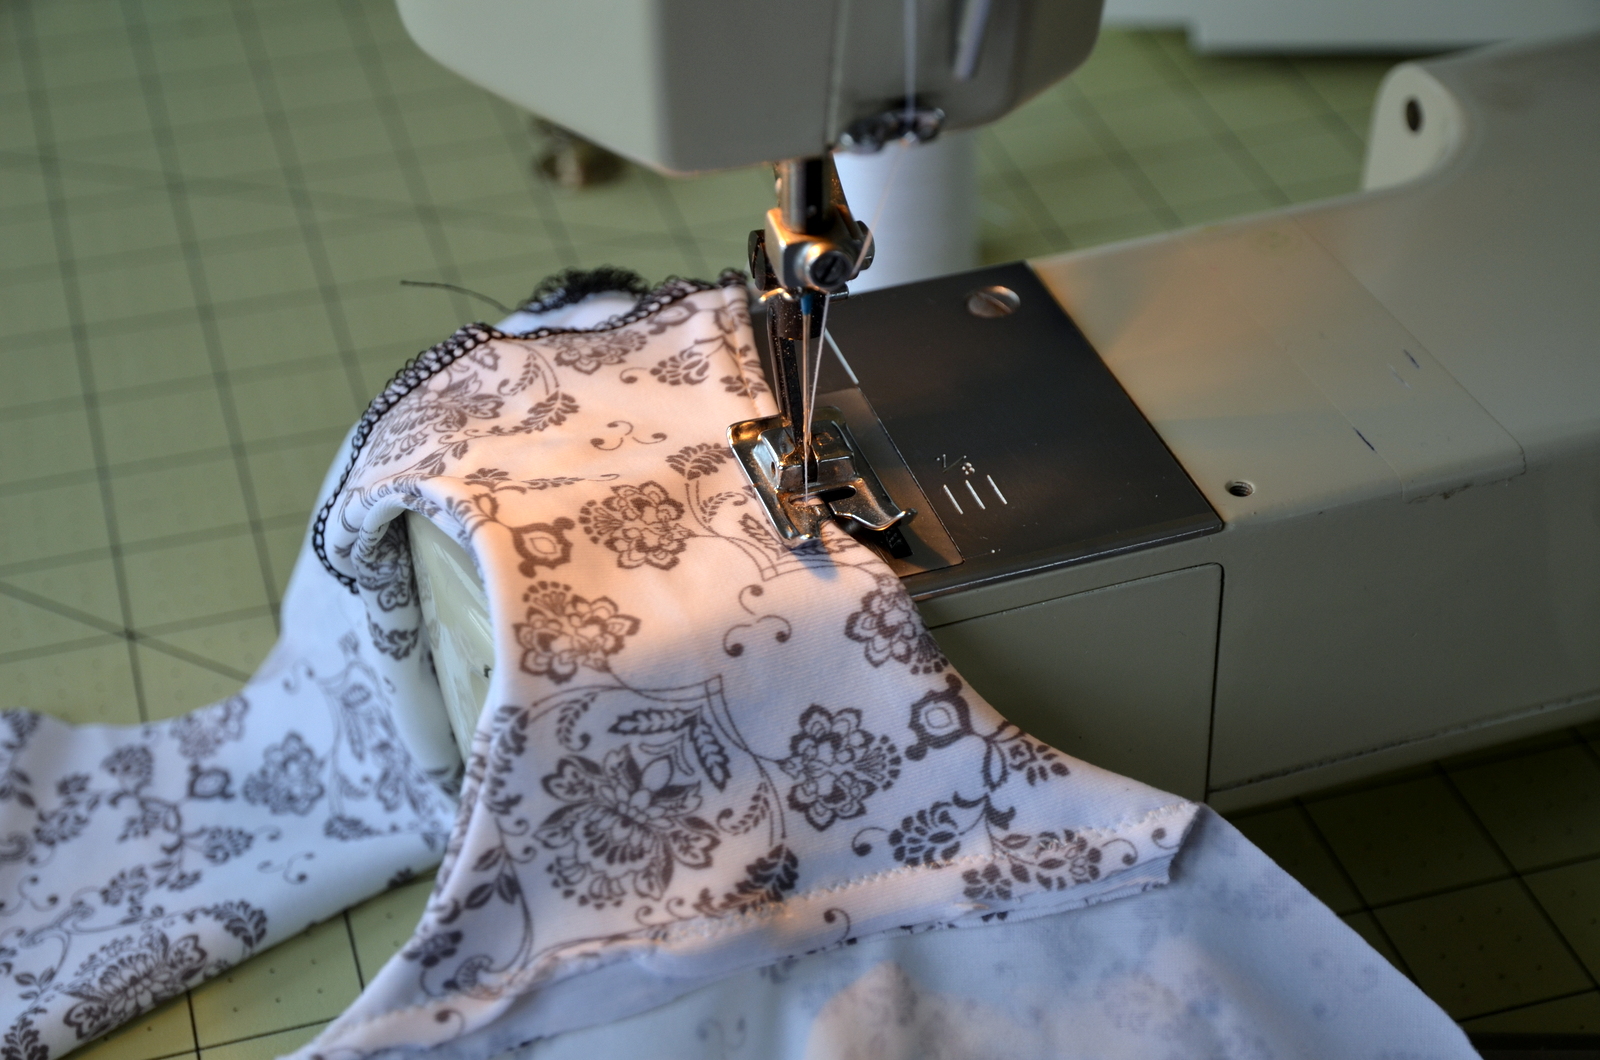
 Top stitching on the lining.
 Side seam, stitched with small zigzag.
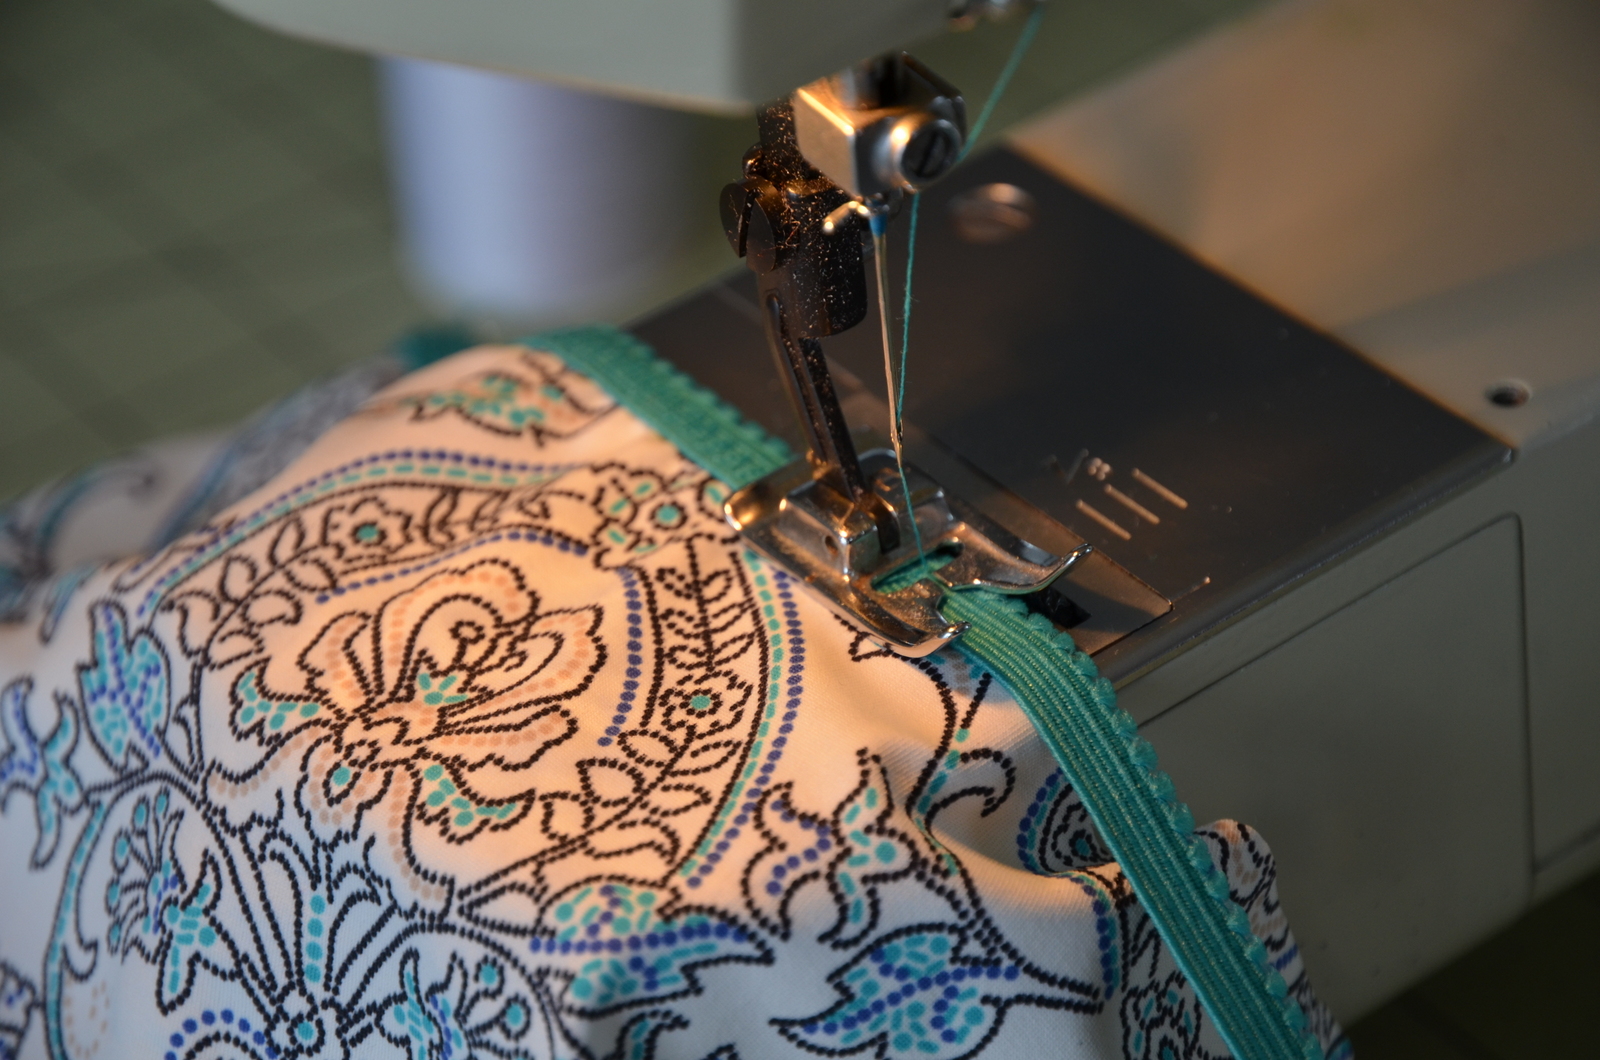
 Using the zigzag stitch to add elastic to the waist.
 Stitching the side seam in place.


Anyway,
this tutorial and pattern was inspired by a friend. She asked if I could help her with a project. She wouldn't tell me what the project was, but I agreed to it just the same so we could hang out and our kids could visit too. The project turned out to be panties! That didn't weird me out though, I'd made panties before lol! The reason she thought of me for this project was because the panties were made out of a nylon lycra fabric. And she knew I had plenty of that on hand :-) It took a little work and some patience, to make a pattern from the existing panties. So not totally designed by me, just copied a ready to wear garment. I think they could use a rise in the waist and in the front leg cut. I may alter those later and make into multiple sizes. I've not had practice at grading panties into multiple sizes. Though I do have plans to study!
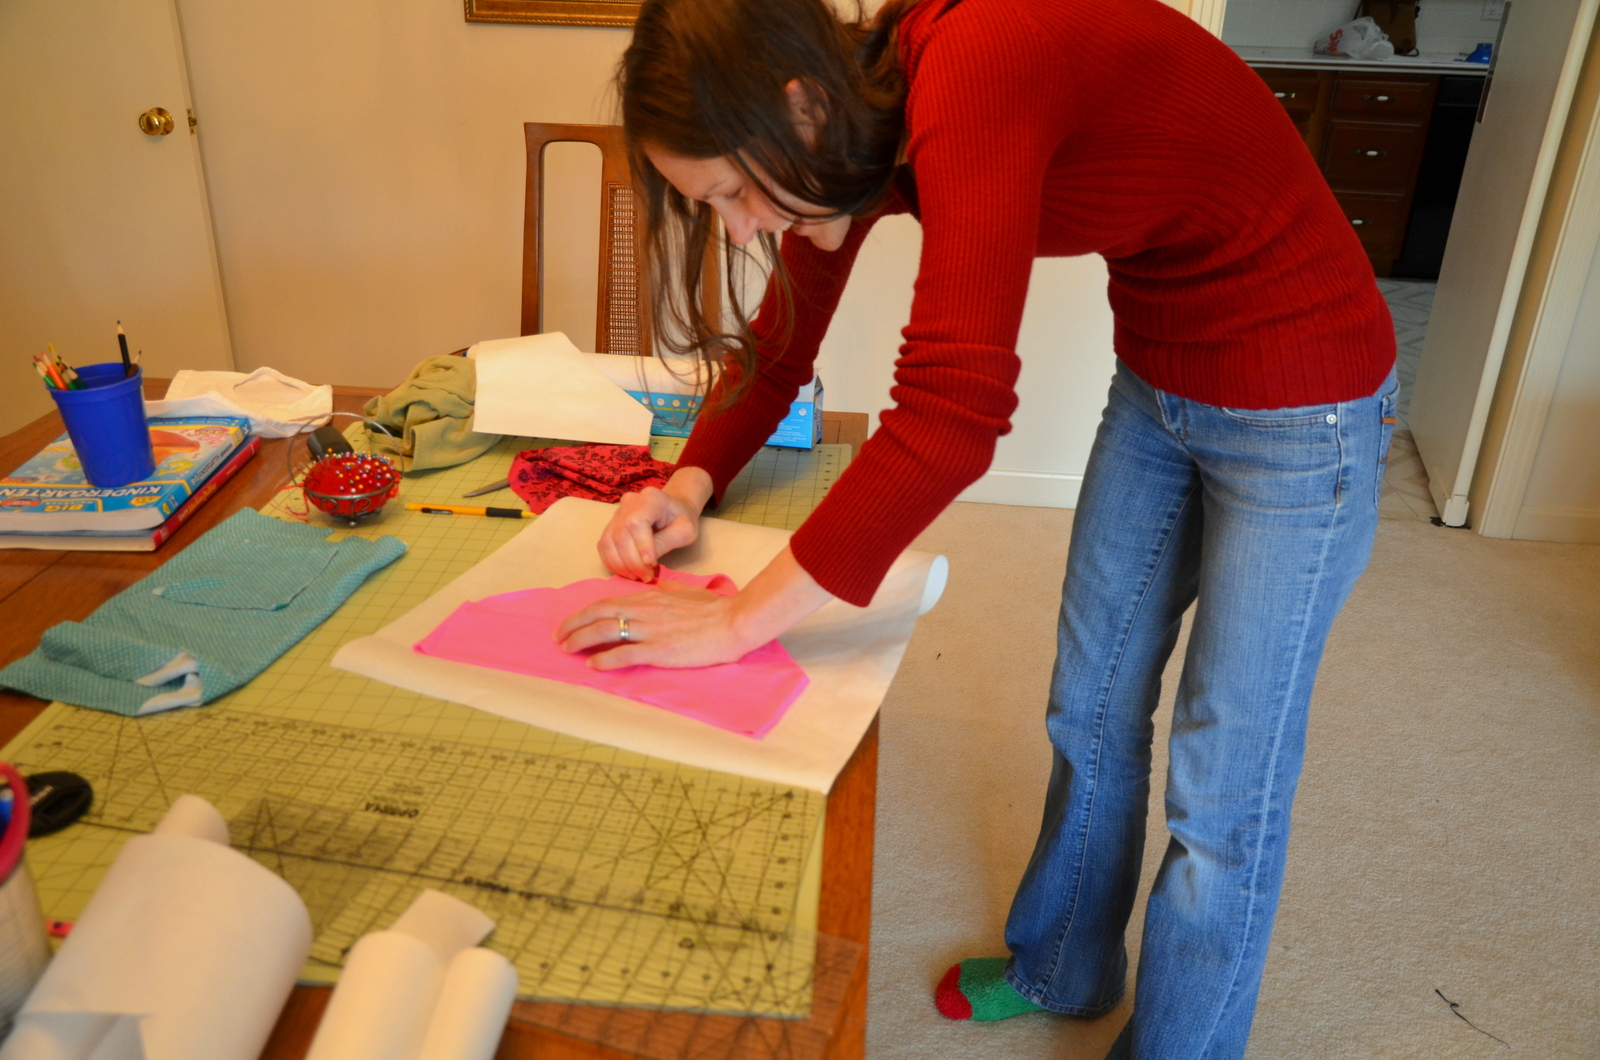
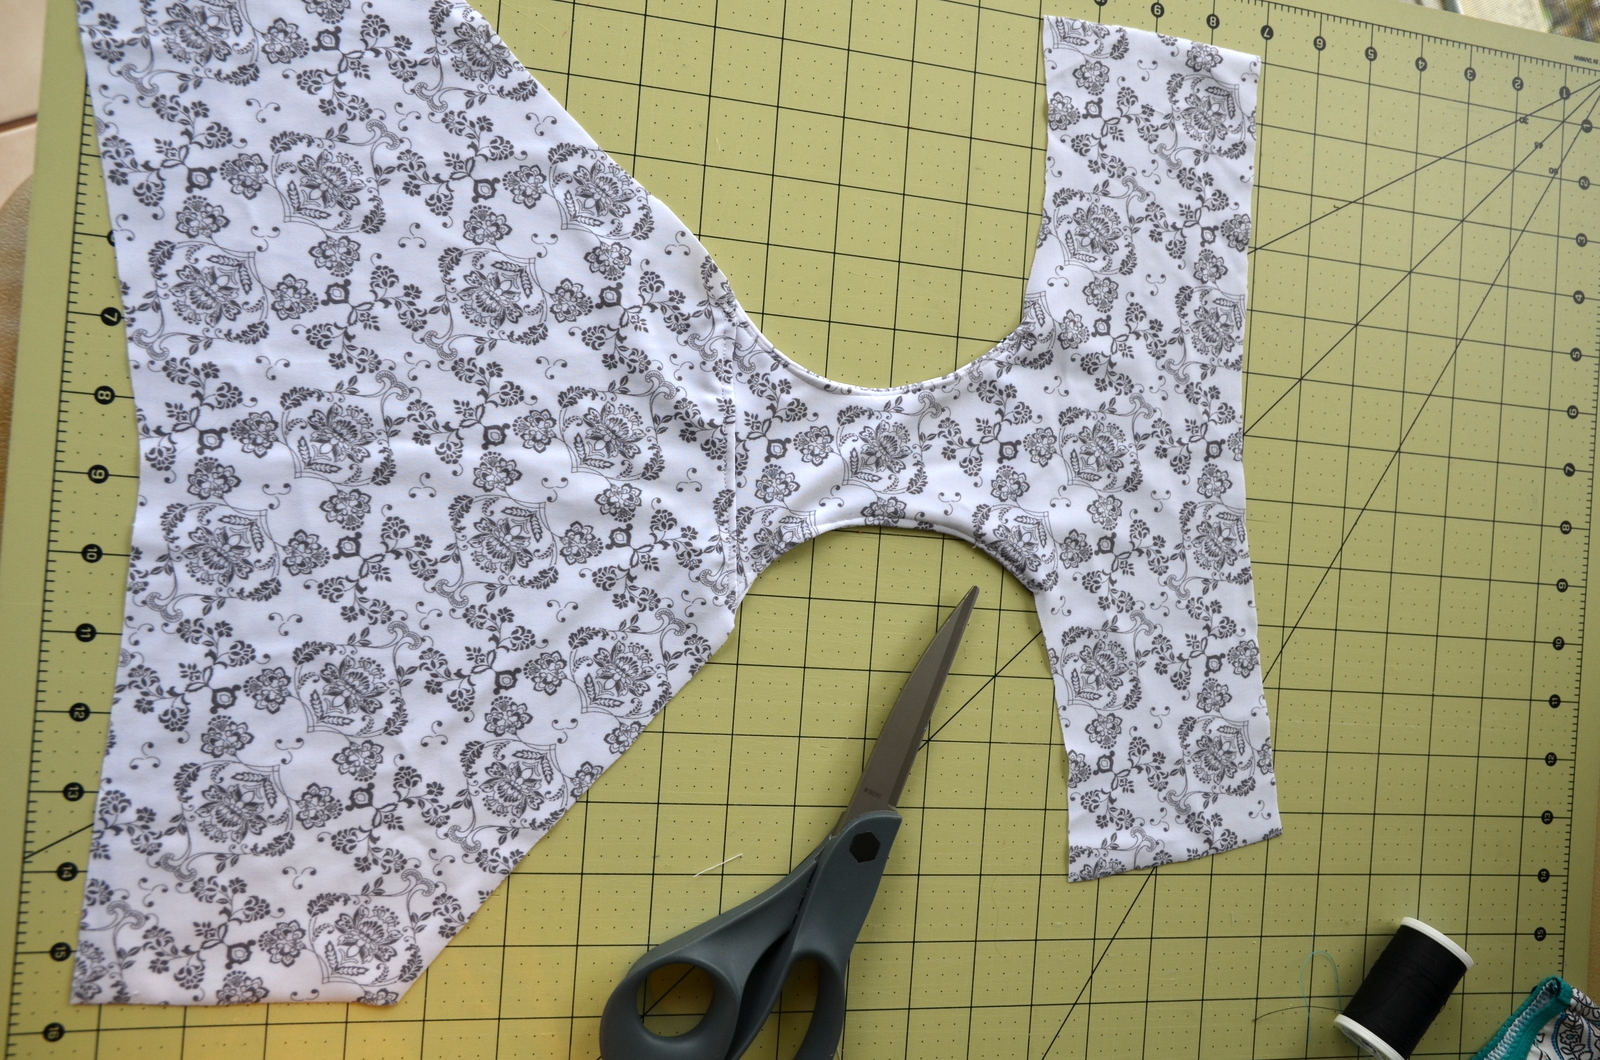
Sometimes to capture a curve on an existing garment, you need to take a strait pin and poke holes through the fabric and onto paper, creating a connect the dots line for you to follow later.
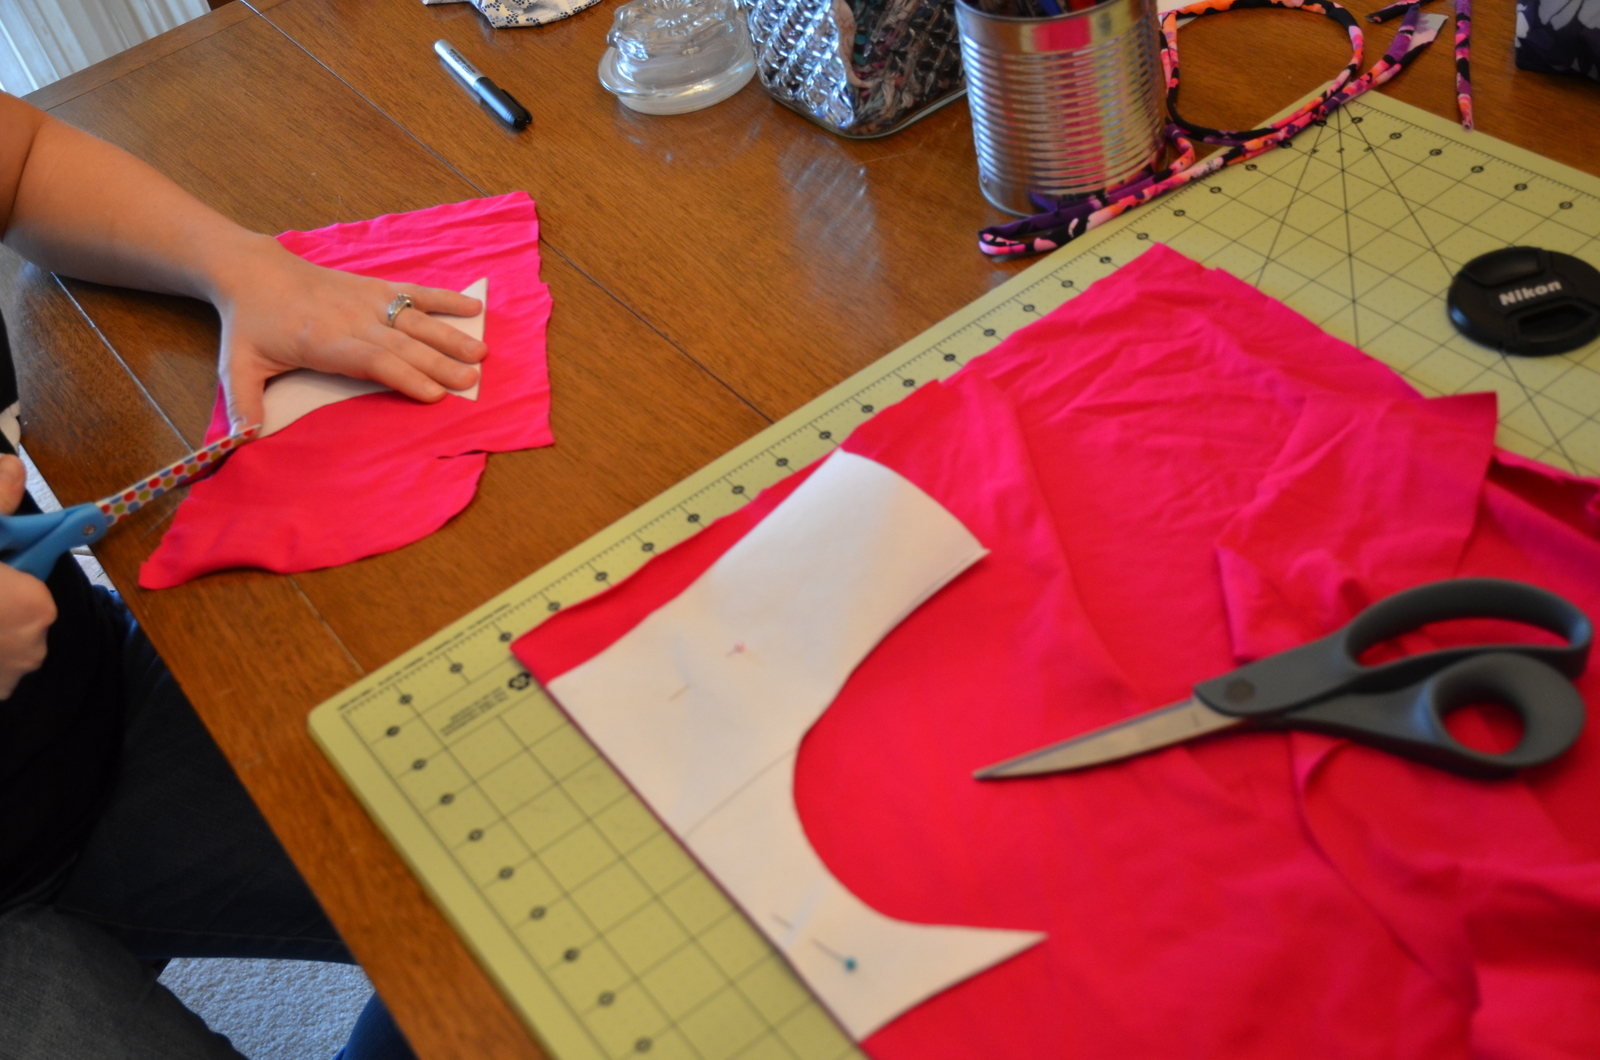
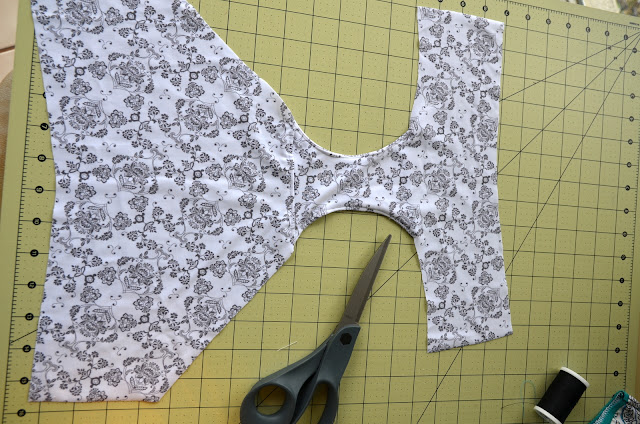
With the pattern made, we set to cutting! I momentarily forgot that my curves had to be perfectly smooth because edges around the leg and waist were not going to be finished!
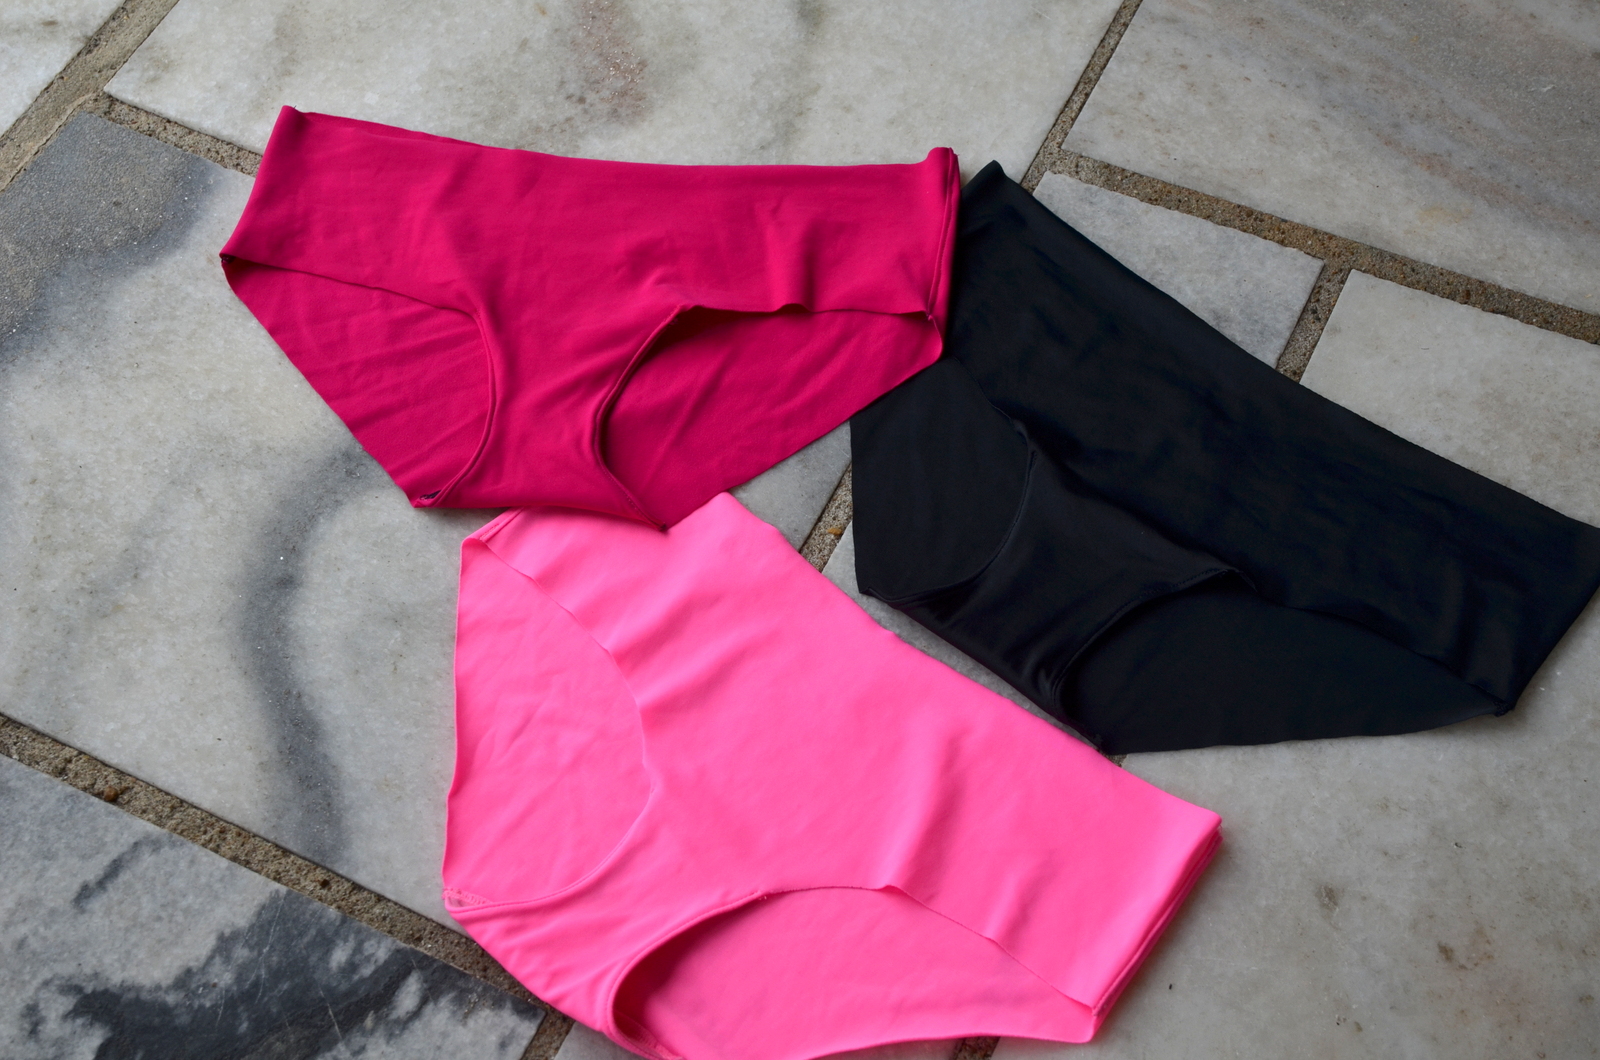
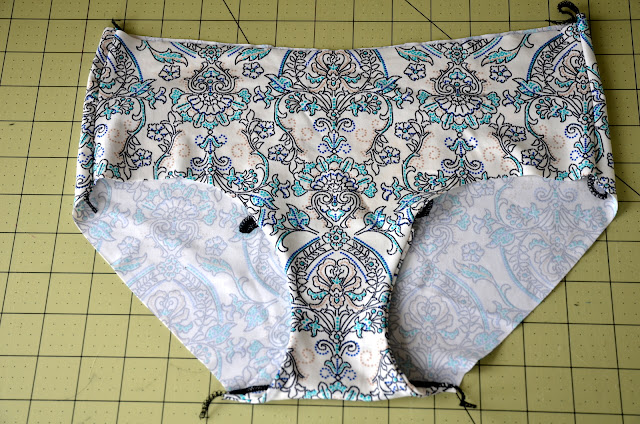
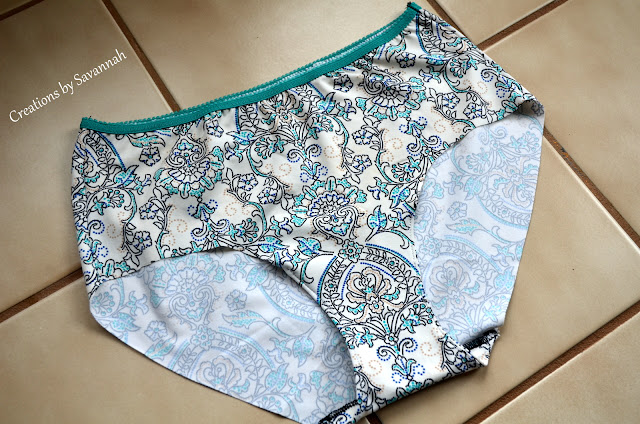
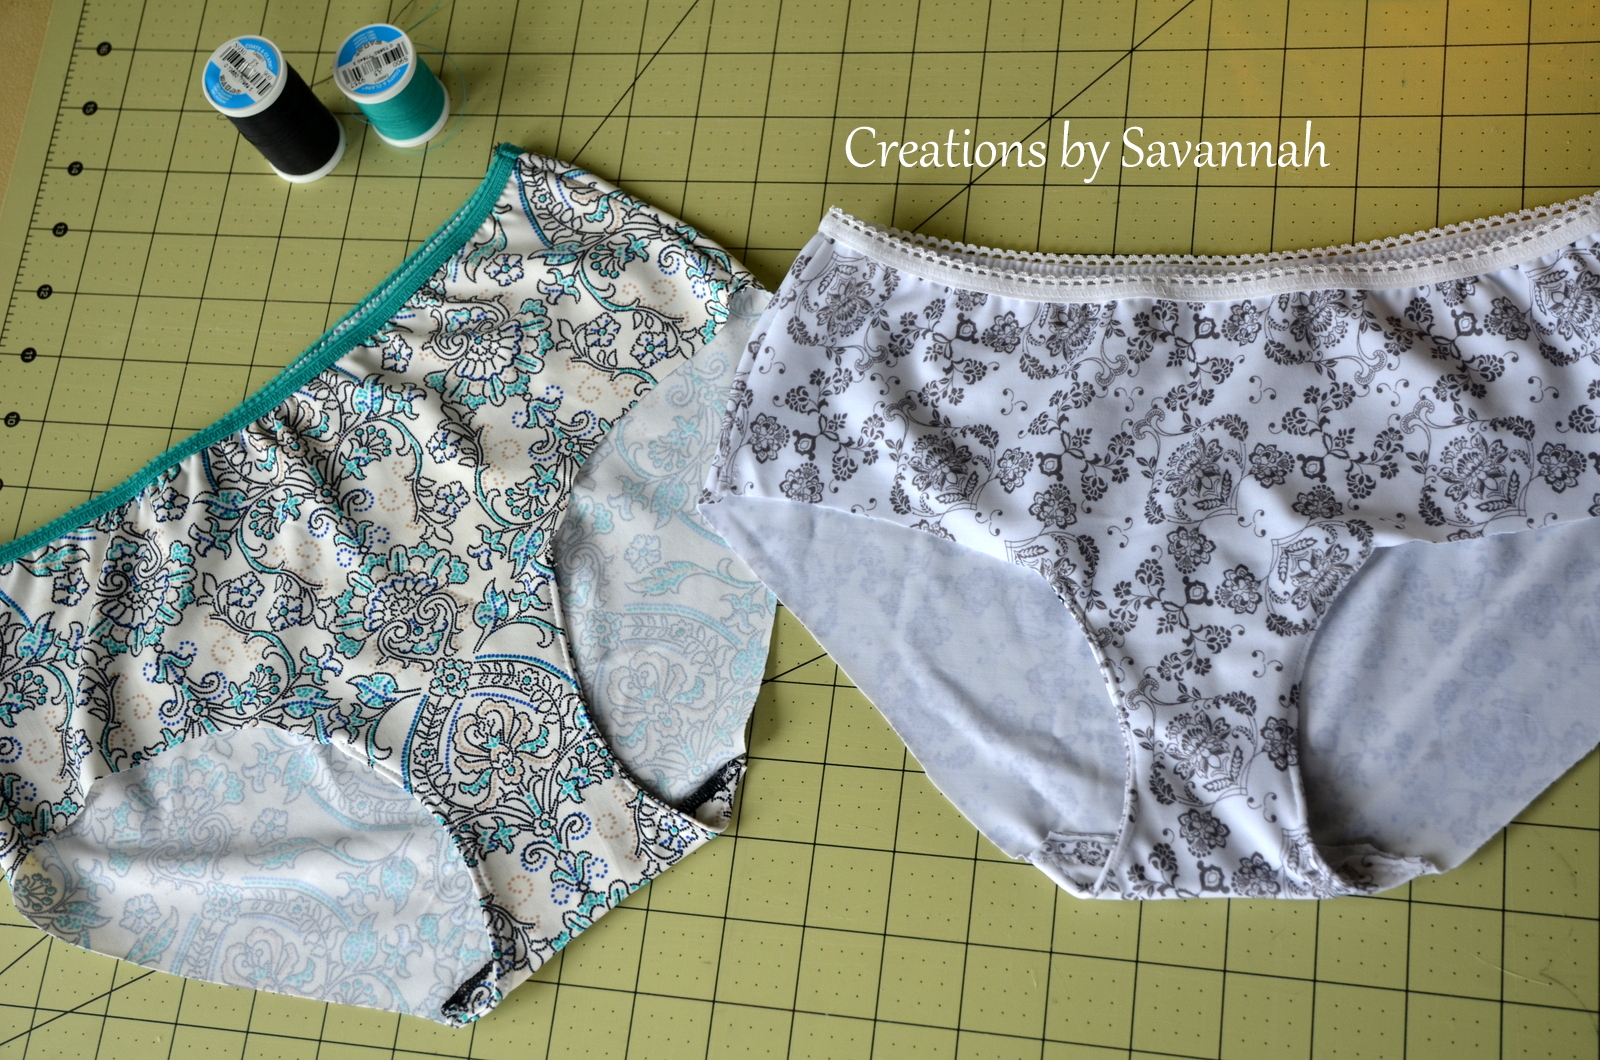
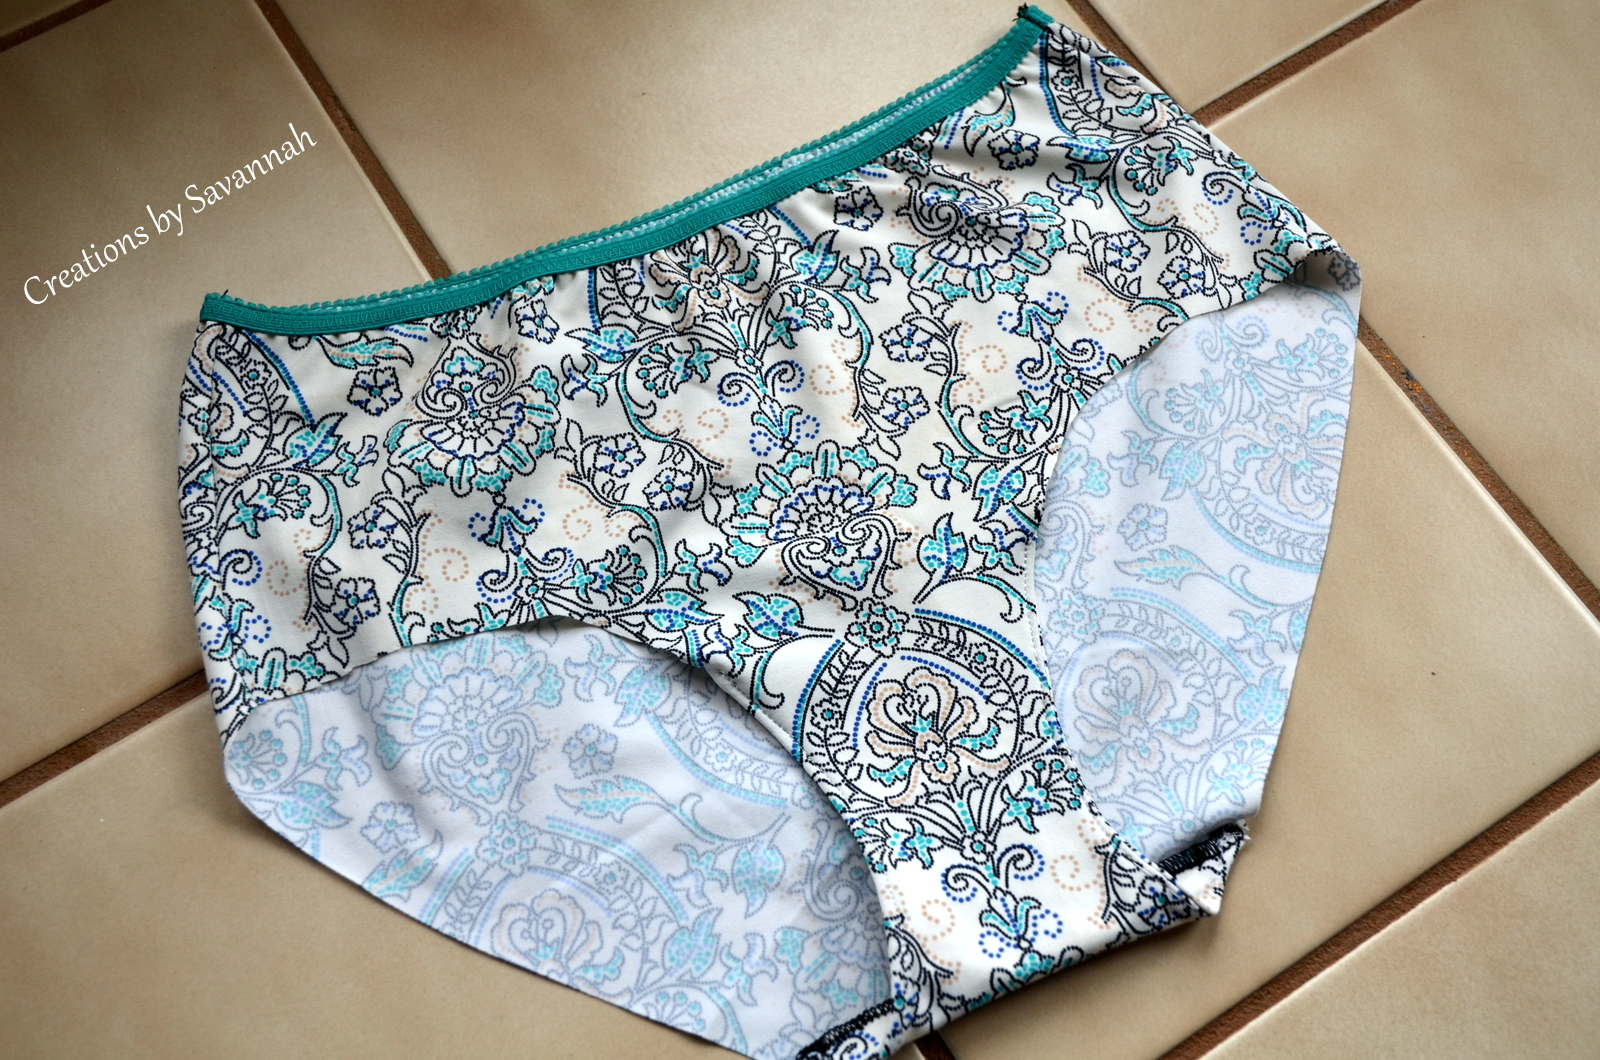
The result was really good! The ones we made were the same as the store bought panties :-)
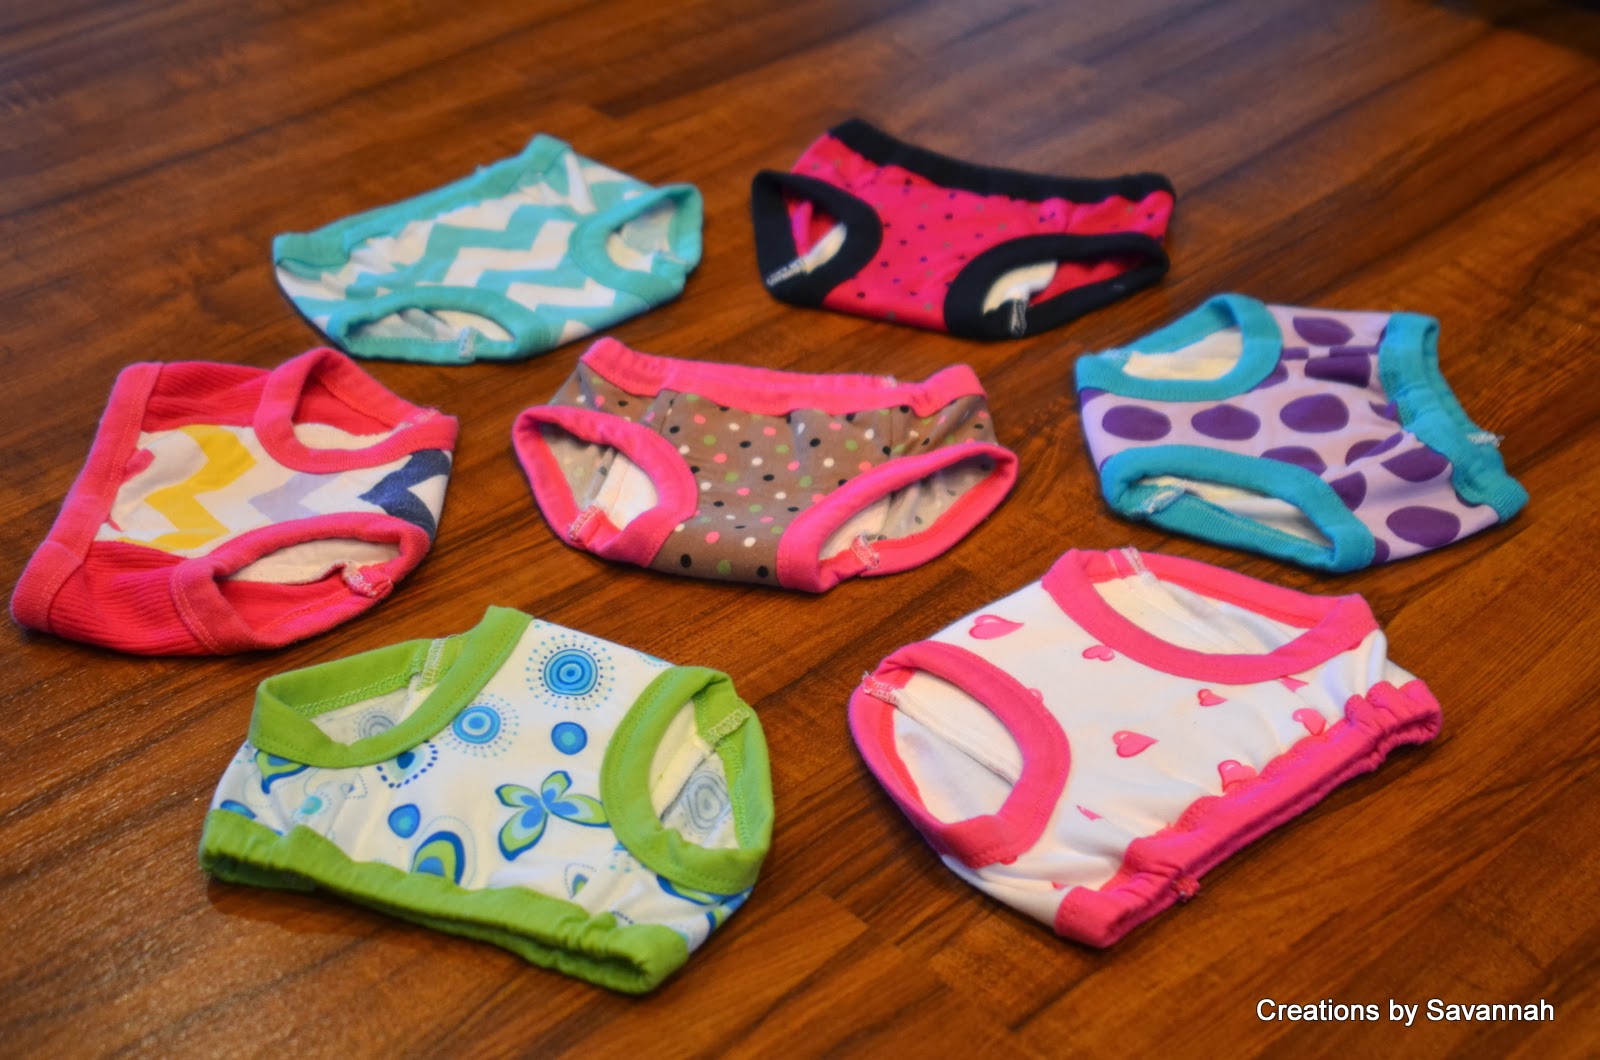
Now I'll share the pattern and photos of the sewing process (which I took today when I made a couple more pair) ...
~ Pattern only in size 6 at this time ~
Sewing Photos

First sew the lining to the front of the panties.
With the first pair, I used the serger. On the second pair I used only the sewing machine.
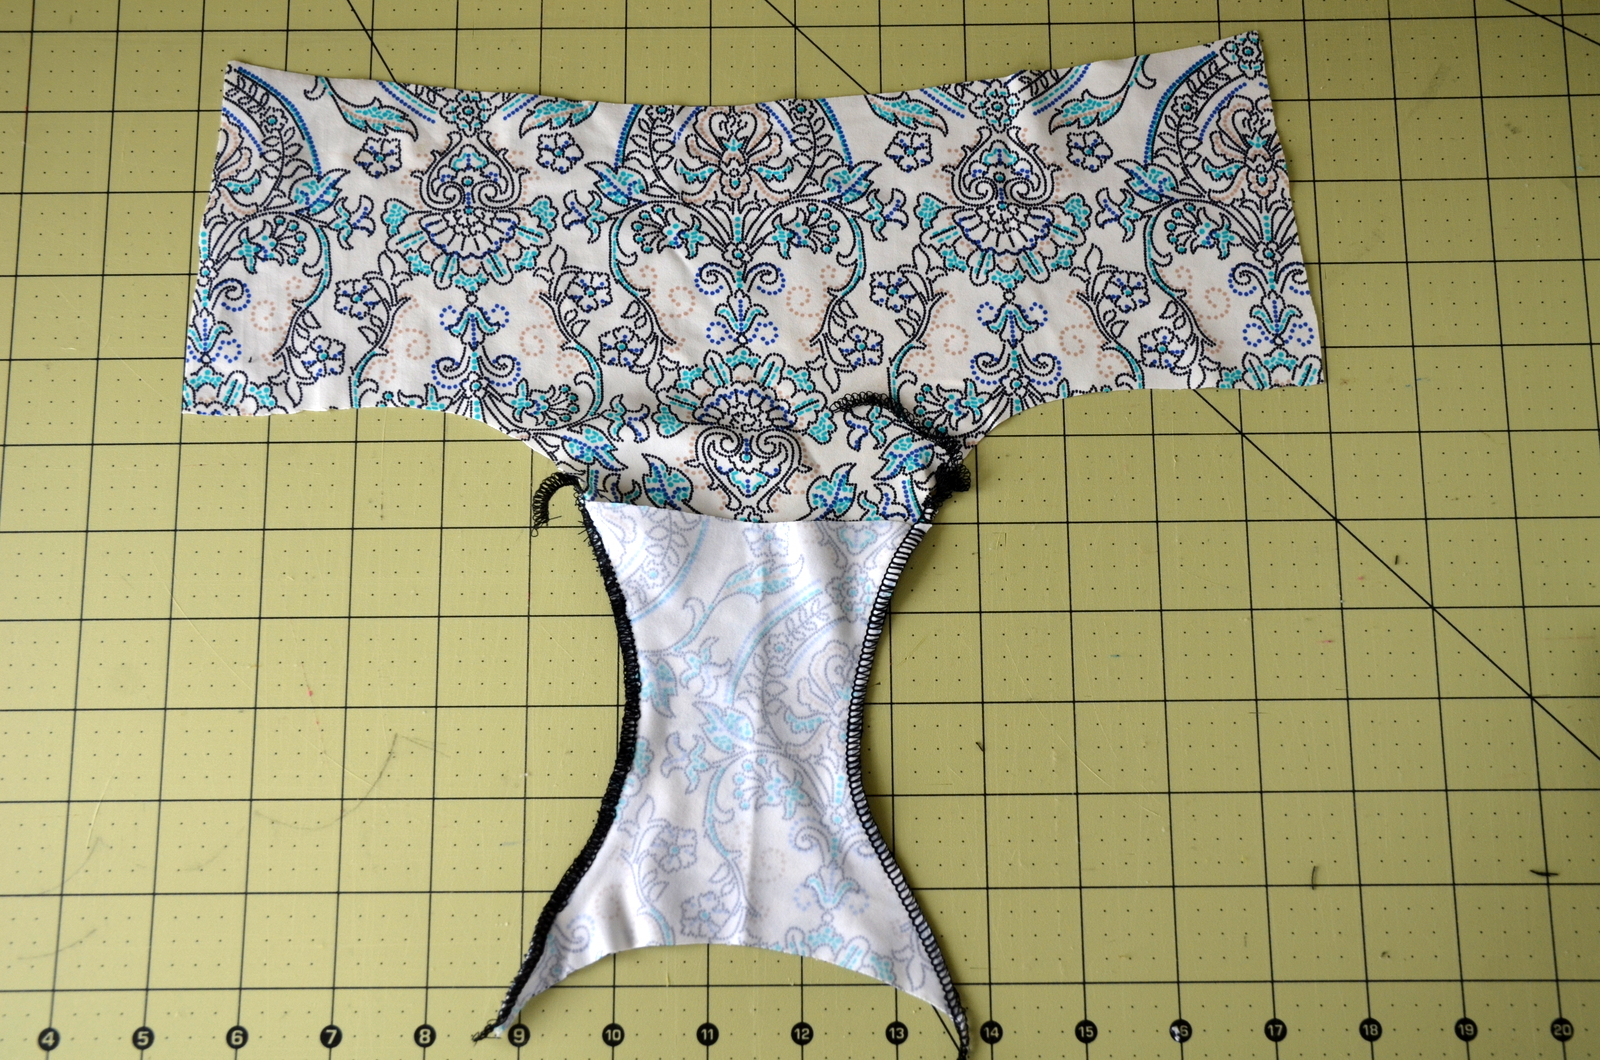

Turn them right side out.

I sewed the back to the front. I started in the middle and sewed to the edge. I find that the edges match up best this way.

Sewing the other half of the seam, from center to edge.
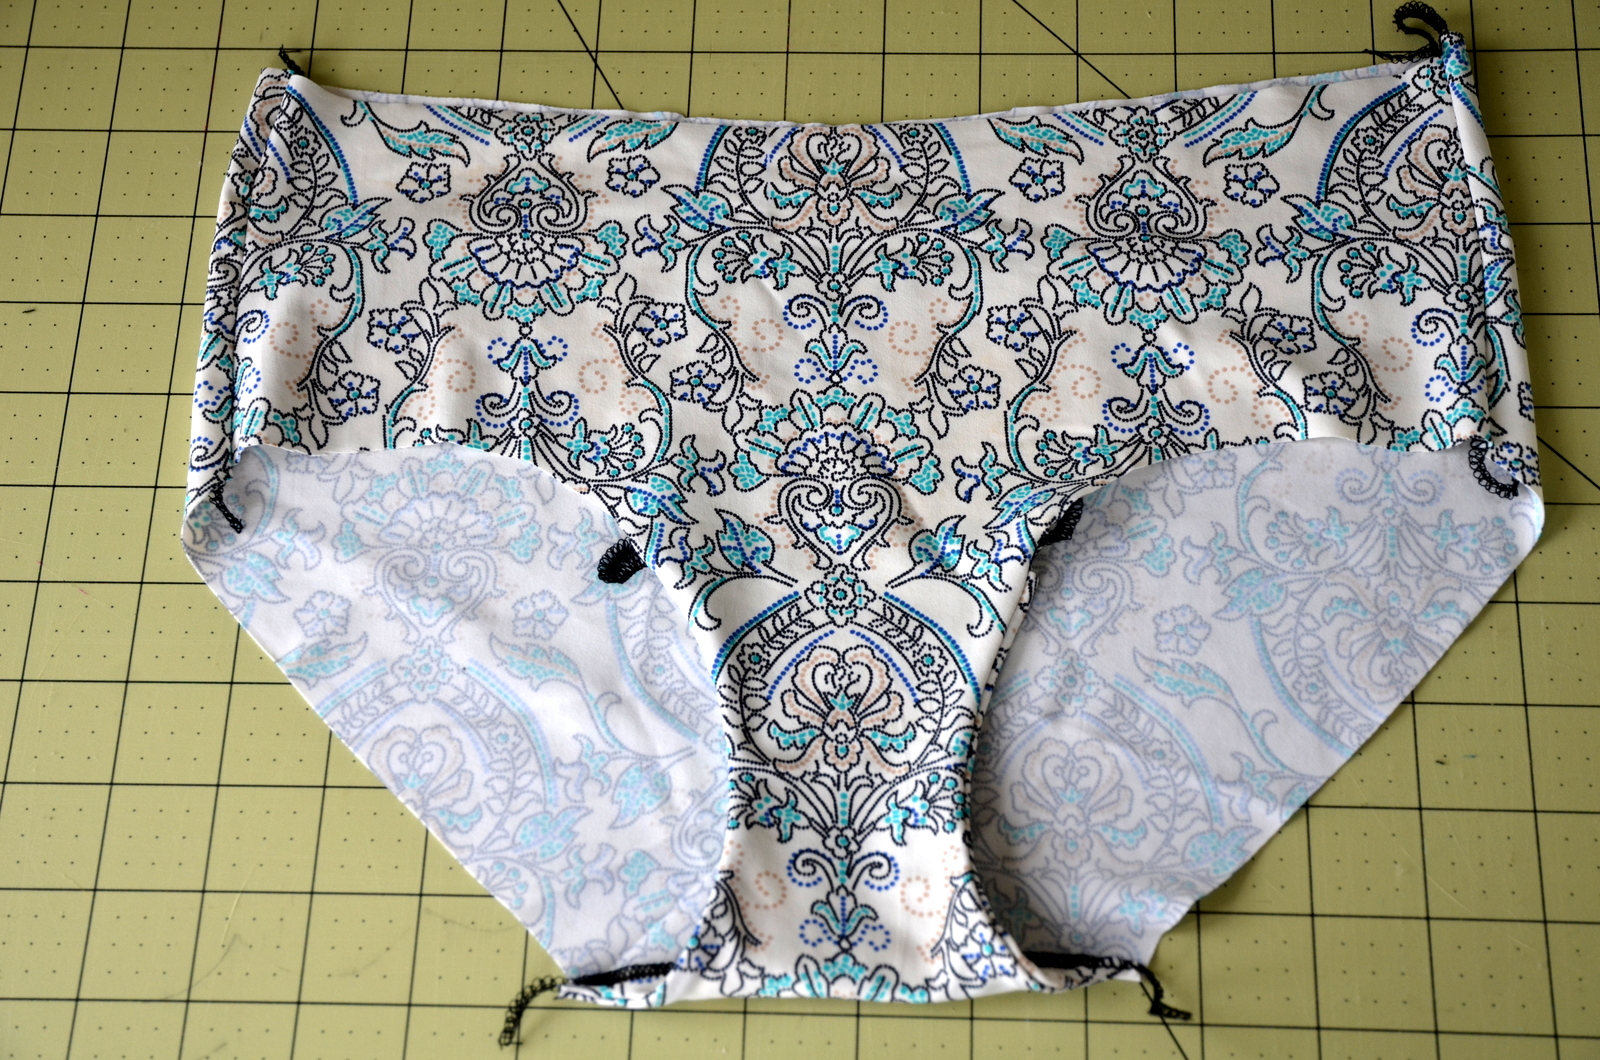
I sewed the side seams closed (forgetting that I needed to leave one open so I could add elastic) The pattern doesn't need elastic, but I wanted it because it makes me feel as though I have extra assurance that they're not going anywhere, and I simply like pretty elastic :-)

Here top stitching on the lining.


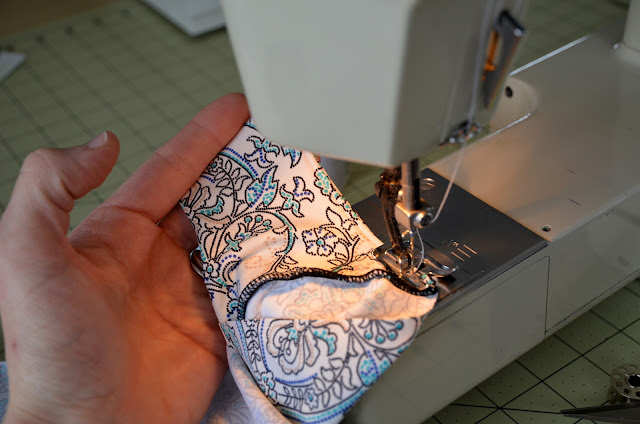
Fold back along the seam.
Fold seam over on top of the tail.

And sew in place.

This next pair I sewed without the serger and I have to be honest (not that you couldn't tell by the photos) that I could definitely be better at this! I think the lining was cut out a little wonky, and therefore it was hard to sew strait. But I kept going and they did turn out well in the end!
My first seam I did what I've always done on stretch fabric when I don't have a serger. I did a strait stitch and stretched as I sewed. Then just for kicks I tried the small and close zigzag. Never tried it before, but everyone on the Internet says that's what you should use. It worked okay. My tensions could have been adjusted some though.


See, they didn't turn out too bad! :-)
Thanks for stopping by! My 'pin it' button is still broken, so if someone wouldn't mind pinning for me, that would be great! :-)
Very concise! I'm a total newbie and this may be my first thing to make. Thank you! (Pinning.:) )
ReplyDeleteGreat explanation!
ReplyDeleteThis comment has been removed by a blog administrator.
ReplyDelete